Rust Todo | Create & Read | non Database
ホーム
Axum + Askama
- データベースなし
- Read
- Create & Read
- データベースあり
- Create & Read
- Create & Read & Delete
- CRUD 完成品
- Askama を Proxy サーバーで動かす
Actix-web + Tera
Loco
概要
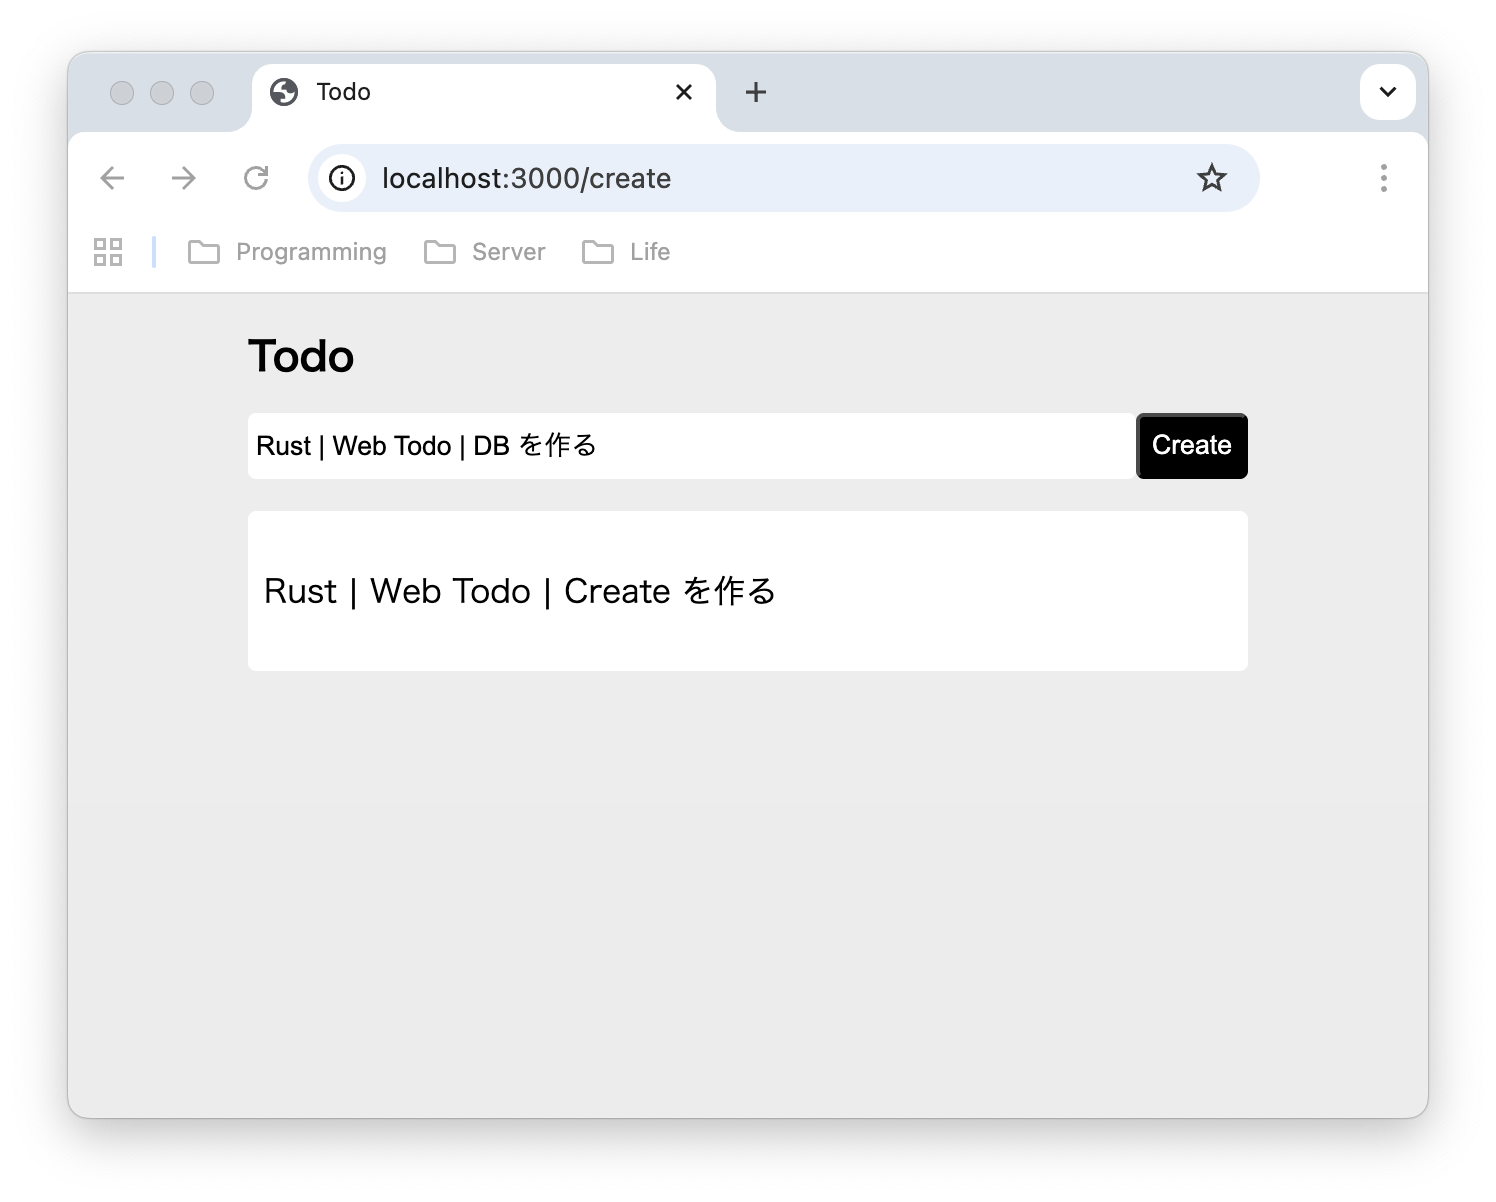
Axum、Askamaの組み合わせでTodoウエブアプリケーションのCreate、Readを実装しています。
Cargo.toml
[package]
name = "todo"
version = "0.1.0"
edition = "2024"

[dependencies]
askama = "0.14.0"
axum = "0.8.4"
serde = { version = "1.0.221", features = ["derive"] }
tokio = { version = "1.47.1", features = ["full"] }
tower-http = { version = "0.6.6", features = ["full"] }
main.rs
//******************************
// main.rs
// copyright   : vivacocoa.jp
// last modified: Sep. 16. 2025
//******************************
use askama::Template;
use axum::{
    extract::Form,
    response::{Html, IntoResponse},
    routing::{get, post},
    Router,
};
use serde::Deserialize;
use tower_http::services::ServeDir;

#[derive(Template)]
#[template(path = "index.html")]

struct FormTenplate {
    message: String,
}

#[derive(Deserialize)]
struct FormData {
    message: String,
}

#[tokio::main]
async fn main()
{
    let serve_dir = ServeDir::new("public");

    let app = Router::new()
        .nest_service("/static", serve_dir)
        .route("/", get(index))
        .route("/create", post(create));
    let listener = tokio::net::TcpListener::bind("127.0.0.1:3000").await.unwrap();
    let addr = listener.local_addr().unwrap();
    println!("Listening on {}", addr);
    axum::serve(listener, app).await.unwrap();
}

async fn index() -> impl IntoResponse
{
    Html(FormTenplate{message: "".to_string()}.render().unwrap())
}

async fn create(Form(data): Form<FormData>) -> impl IntoResponse
{
    Html(FormTenplate{message: data.message}.render().unwrap())
}
index.html
プロジェクトのルートディレクトリに templates というディレクトリを作り、 その中に次の index.html を作ります。
<!-----------------------------
 index.html
 copyright    : vivacocoa.jp
 last modified: Sep. 16, 2025
 ------------------------------>
<!DOCTYPE html>
<html lang="ja">

<head>
  <meta charset="UTF-8">
  <meta name="viewport" content="width=device-width, initial-scale=1.0">
  <title>Create | Todo</title>
  <link rel="stylesheet" href="/static/style.css">
</head>

<body>
  <div class="container">

    <h1>Todo</h1>

    <form method="post" action="/create">
      <div class="h-layout">
        <input type="text" name="message"><button class="btn-black">Create</button>
      </div>
    </form>
    <p class="todo">{{ message }}</p>

  </div>
</body>

</html>
style.css
プロジェクトのルートディレクトリに public というディレクトリを作り、 その中に次の style.css を作ります。
/*****************************
style.css
copyright    : vivacocoa.jp
last modified: Sep. 16, 2025
******************************/
body {
  background-color: #efefef;
}

.container {
  width: 500px;
  margin: 16px auto;
}

h1 {
  font-size: 20px;
}

.todo {
  height: 80px;
  width: 100%;
  border-radius: 4px;
  padding: 0px 8px;
  line-height: 80px;
  box-sizing: border-box;
  background-color: white;
  margin-bottom: 0px;
}

.h-layout {
  display: flex;
}

input {
  height: 25px;
  width: 100%;
  padding: 4px;
  border: solid 0px #efefef;
  border-radius: 4px;
}

.btn-black {
  background-color: black;
  width: 60px;
  color: white;
  border-radius: 4px;
}
ターミナルでプロジェクトのルートディレクトリに移動して、cargo run とコマンドしてサーバーを起動してください。 そしてお使いのブラウザで localhost:3000 もしくは 127.0.0.1:3000 を開いてください。
6922 visits
Posted: Sep. 16, 2025
Update: Sep. 16, 2025