Android チェックボックス
ホーム


Android プログラミングを始めました。
開発環境としては、最も標準的な Android Studio と Kotlin を使うことにしました。
Android Studio のインストールや使い方の説明を始めるとスクリーンショット だらけになりますので、そこは、他のサイトを参照してください。
このコーナーでは、メインの Kotlin ファイルと、文字列のための XML ファイルの掲載が 中心になるのではないかと思います。よろしくお願いいたします。
はじめに
ここからは、Java SDK と Kotlin と Android Studio がインストールされていて、 新規プロジェクトが作成でき、View パーツの簡単なレイアウトができるところから はじめます。
チェックボックス
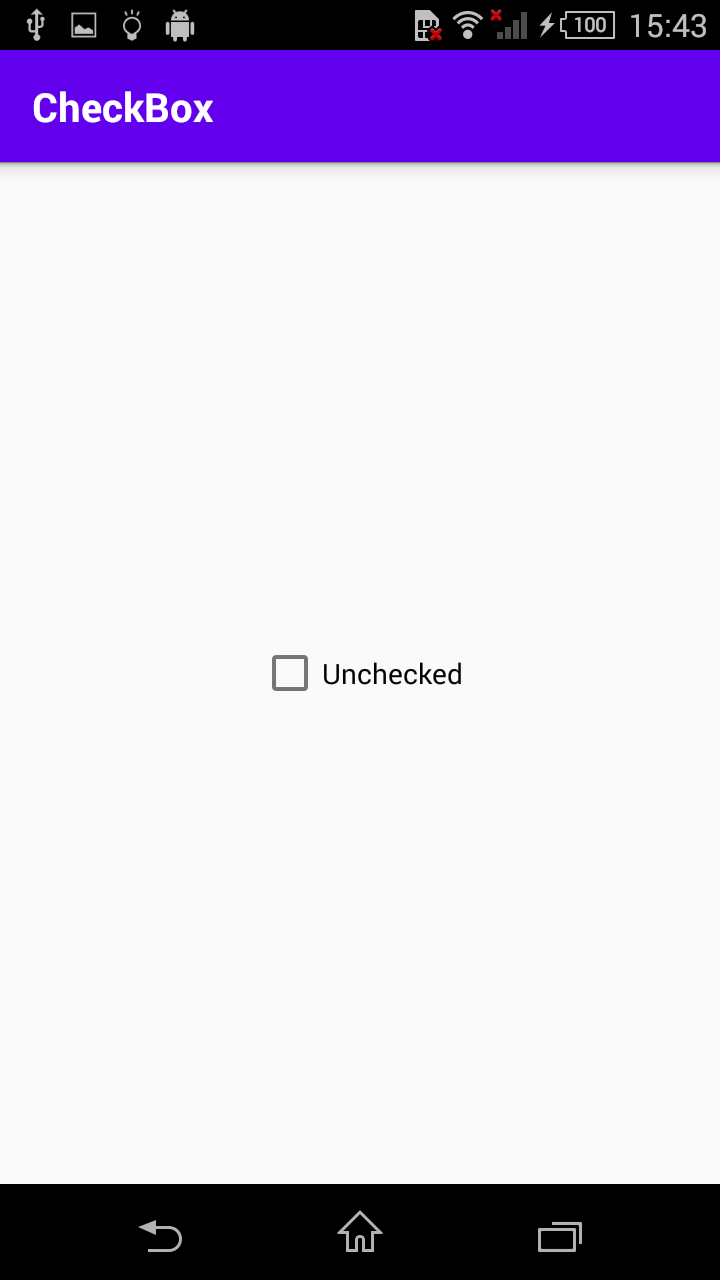
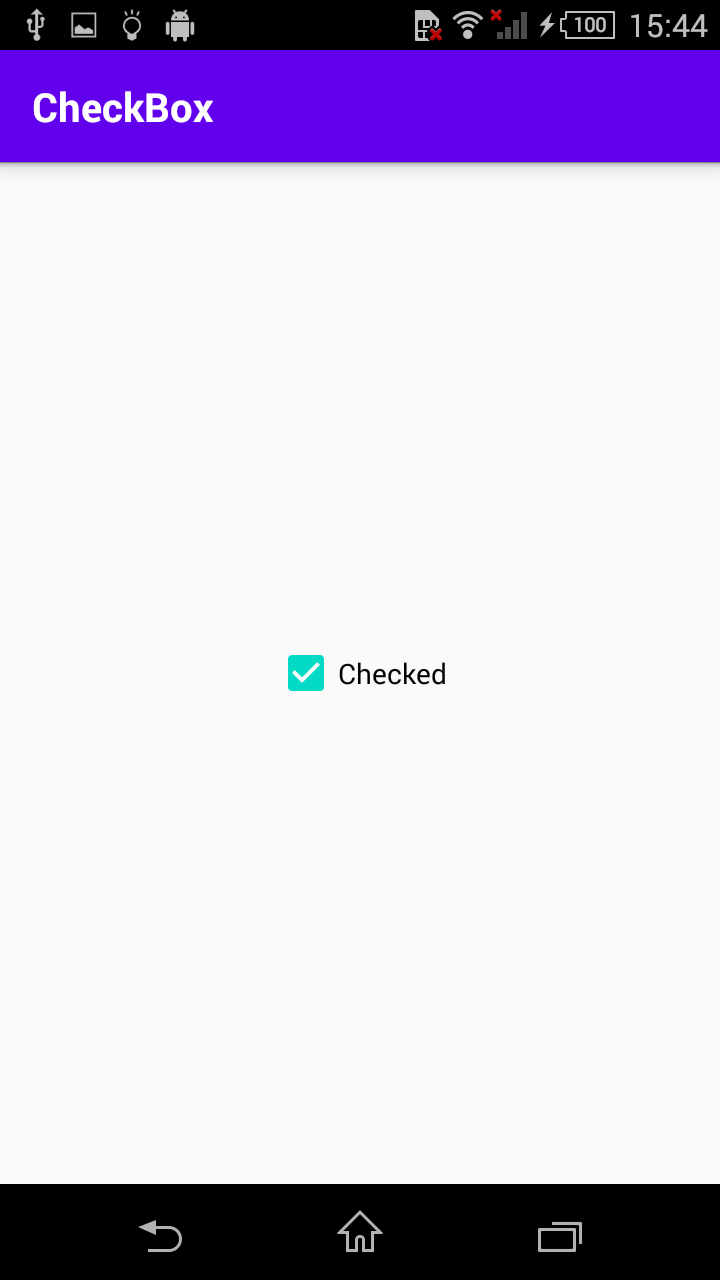
チェックボックスをタップしてチェックされるとチェックボックスのラベルが Checked に変わります。再度タップしてチェックがはずれるとラベルが Unchecked に戻ります。 プロジェクトのテンプレートは Empty Activity です。
MainActivity.kt
package com.example.d5788

import androidx.appcompat.app.AppCompatActivity
import android.os.Bundle
import android.widget.CheckBox

class MainActivity : AppCompatActivity() {
    override fun onCreate(savedInstanceState: Bundle?) {
        super.onCreate(savedInstanceState)
        setContentView(R.layout.activity_main)

        val checkbox: CheckBox = findViewById(R.id.checkbox)
        checkbox.setOnClickListener {
            if (checkbox.isChecked) {
                checkbox.text = getString(R.string.checked)
            } else {
                checkbox.text = getString(R.string.unchecked)
            }
        }
    }
strings.xml
<resources>
    <string name="app_name">CheckBox</string>
    <string name="checkbox">Unchecked</string>
    <string name="checked">Checked</string>
    <string name="unchecked">Unchecked</string>
</resources>
activity_main.xml
<?xml version="1.0" encoding="utf-8"?>
<androidx.constraintlayout.widget.ConstraintLayout
    xmlns:android="http://schemas.android.com/apk/res/android"
    xmlns:app="http://schemas.android.com/apk/res-auto"
    xmlns:tools="http://schemas.android.com/tools"
    android:layout_width="match_parent"
    android:layout_height="match_parent"
    tools:context=".MainActivity">

    <CheckBox
        android:id="@+id/checkbox"
        android:layout_width="wrap_content"
        android:layout_height="wrap_content"
        android:text="@string/checkbox"
        app:layout_constraintBottom_toBottomOf="parent"
        app:layout_constraintEnd_toEndOf="parent"
        app:layout_constraintStart_toStartOf="parent"
        app:layout_constraintTop_toTopOf="parent" />
</androidx.constraintlayout.widget.ConstraintLayout>
実行結果


29206 visits
Posted: Oct. 06, 2021
Update: Oct. 06, 2021